
Profile Flash Cards: LAF Setups
Clear Trades

Don’t forget a classic setup - the ‘look above and fail’. This setup, detailed here for the Crow Mags, relies on key profile references like buying or selling tails, overnight and daily highs and lows.
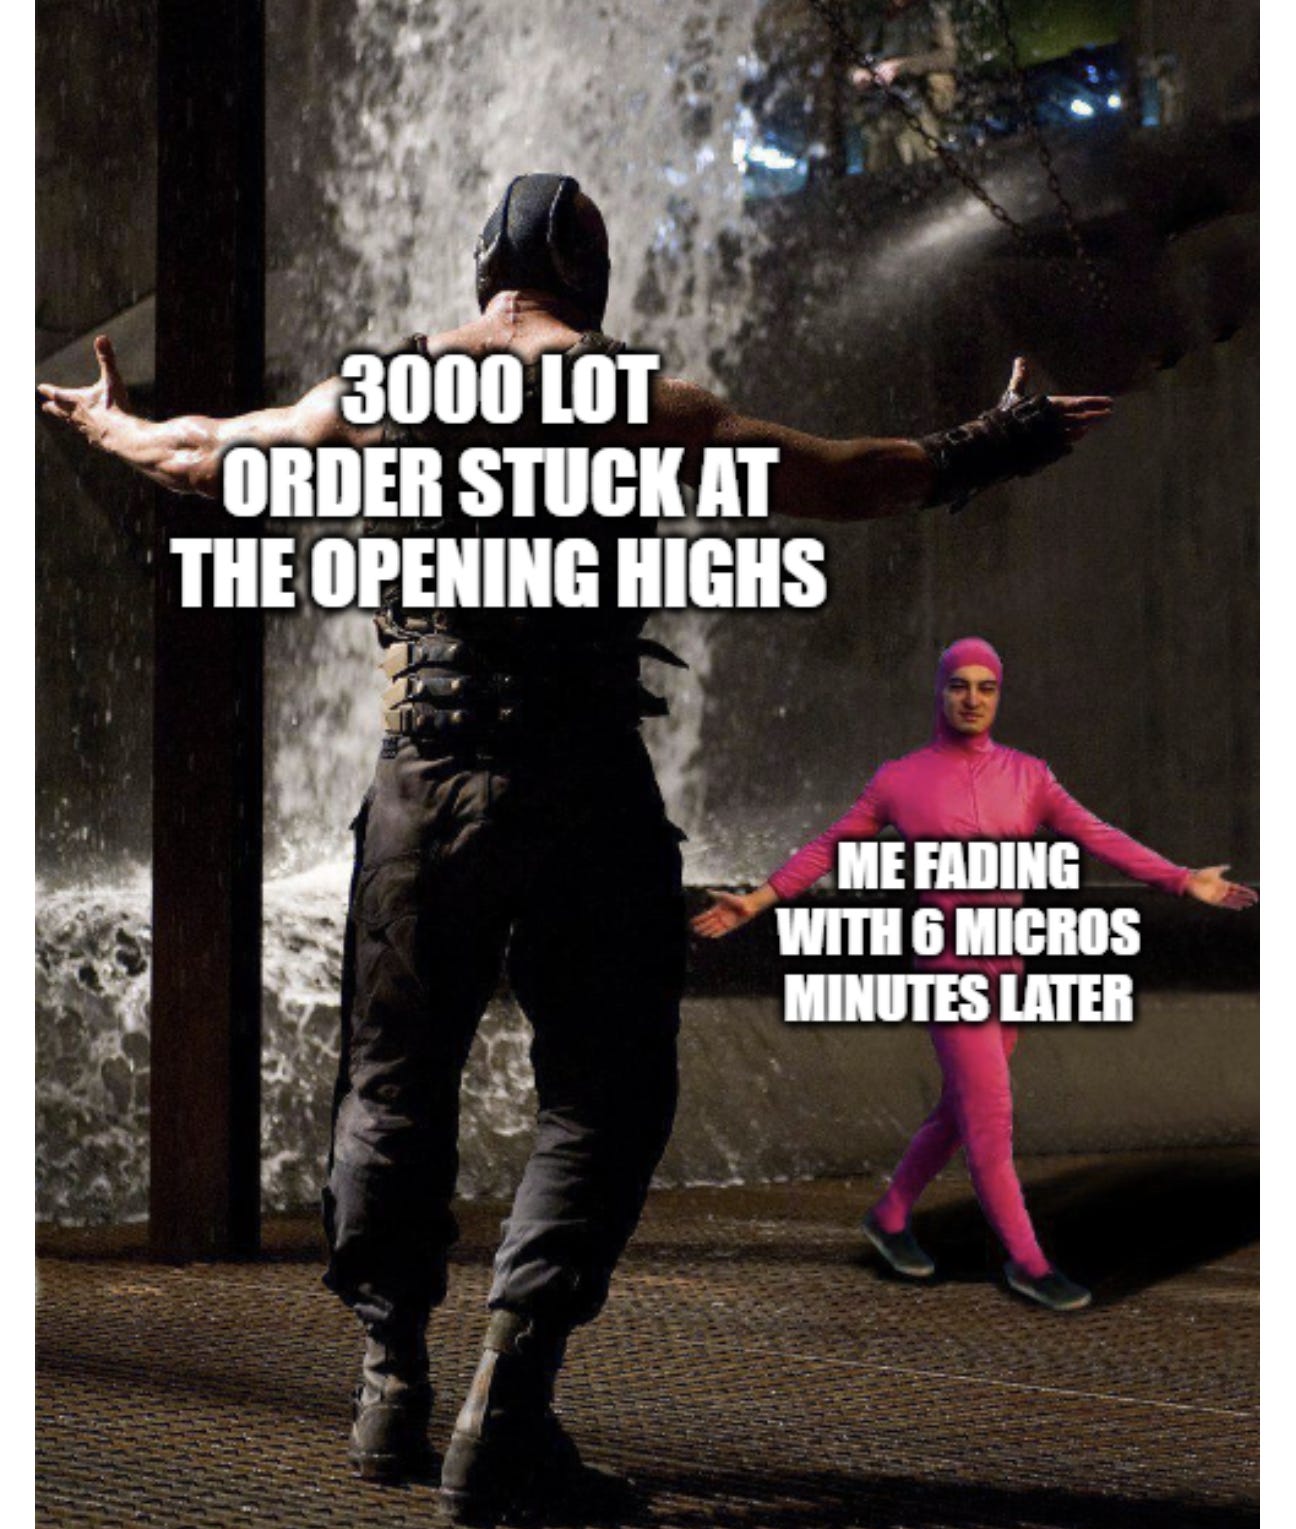
Image 1. Eat like a shark, swim like a fish
Importantly, it relies on a 6-point validation (on the profile - meaning trade not to exceed 6 points above or below the reference), and uses the 5m chart for entries.
I’ll take us through two quick examples from last week that paid.
Remember these are called setups for a reason. They don’t always come around, but they have a higher probability success rate combined with a higher R:R. This repetition is the formula for successful trading.
Leveraging the Market Profile
As always, recall the study guide from CBOT. No sign-up necessary.
Image 2. Two examples
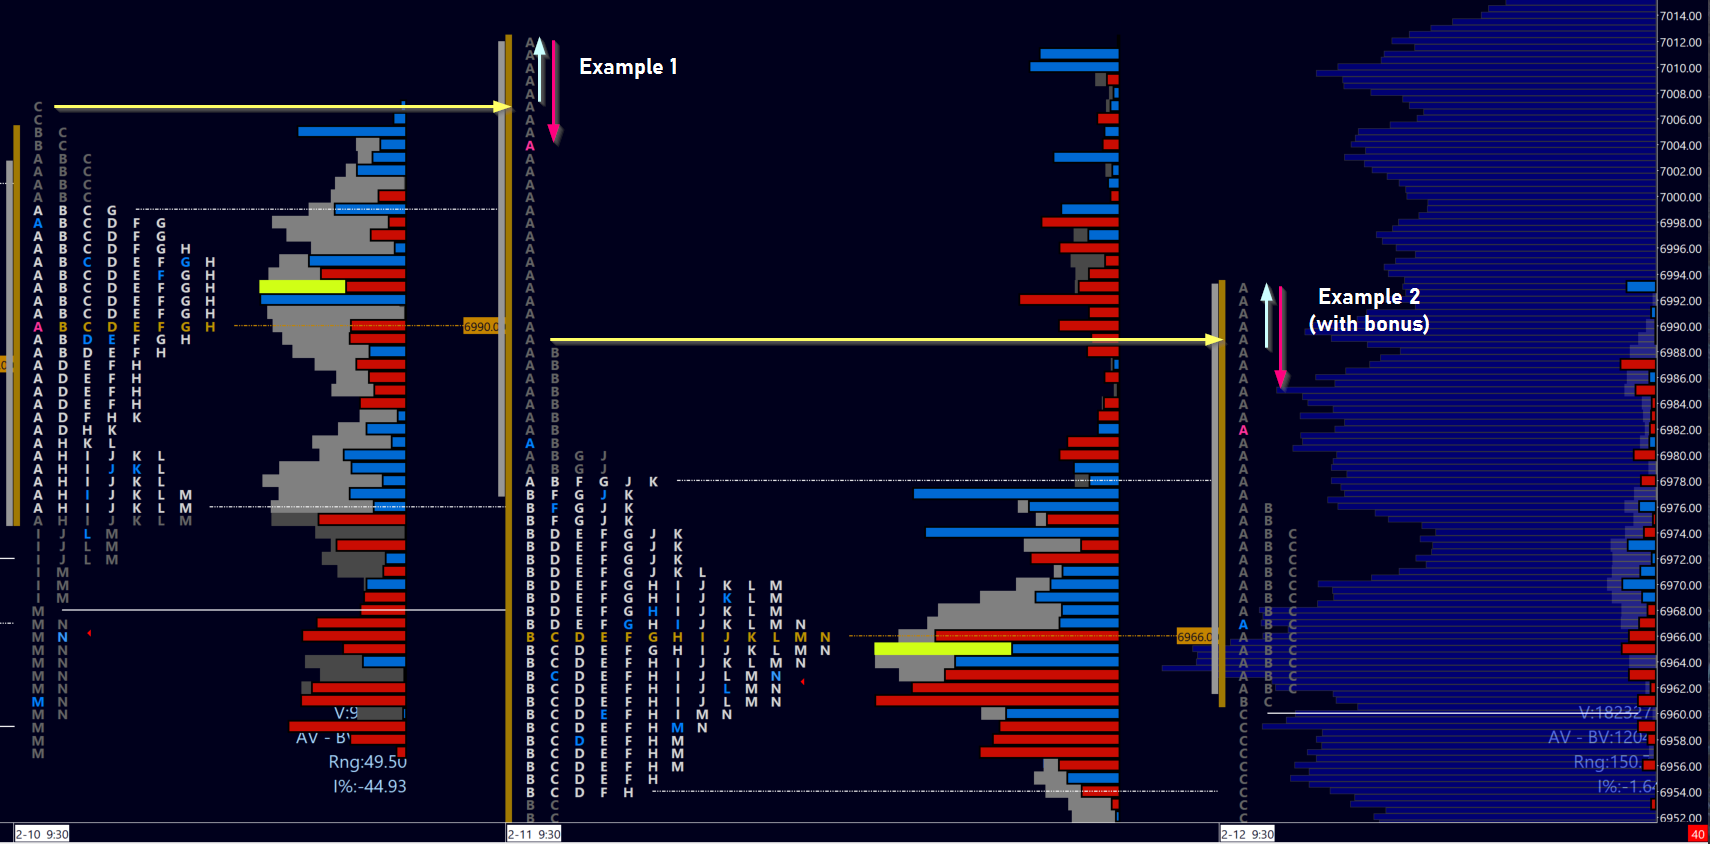
Refer to the chart above for the profile on the two examples to follow.
Wednesday, February 11
A clear ‘look above and fail’ (LAF) of the prior day high. It’s furthermore a few point above the key 7000 level. In other words, good confluence which means higher chance of a reaction.
We open below the prior day high, so a break above and continuation are key for the bulls. A failed breakout could see a traverse of the prior day’s value area, or more!
This language should be burned into memory at this point.
The opening 5m candle is a red candle (blue on my charts!), with a failed spike to the upside. This ‘selling tail’ is a key reference in the next few minutes, and a great reference for a lean short - now that the LAF is possibly setting up.
Image 3. Wednesday 5m chart
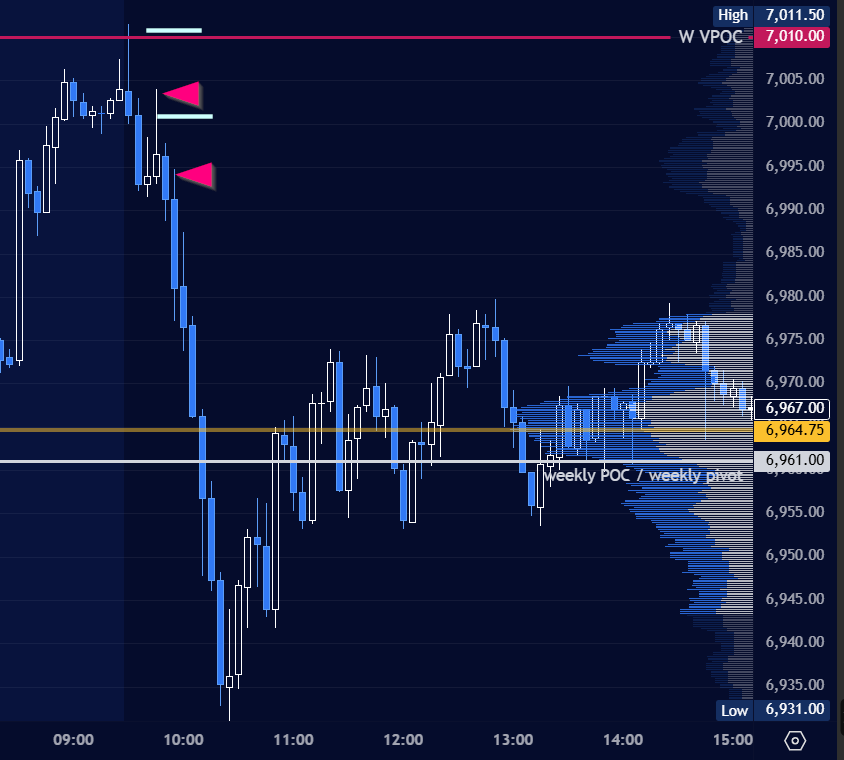
Indeed, it’s a near-perfect retest of the selling tail 15 minutes in (when large order typically place for the day’s trade). I don’t even need perfection, but when I see it I don’t think twice.
I enter short and my limit sell order is filled within a tick. I place my stop 5-6 points above, conveniently above the mid-point of the selling tail.
Long-term readers know that I use a mid-point stop reference (on tails or initiation candles) out of habit. It has served me well, keeping losses manageable and the direction generally correct, while saving a huge amount of mental capital.
How about that second trade location?